Friday, May 13, 2011

APPLE of my EYE!

So I started making these over a year ago. And I made my first one for a friends baby shower. When she pulled it out of the bag I told her it was a "birthing diaper" to catch all the fluids. Lol. She was in total shock. I think I have a picture of her facial expression- priceless! The stares I got as a room full of people though "WTHeck" I quickly said just kiddding its a shopping cart cover! Well these covers are my signature baby gift cause you can use them in 3 ways!
In a swing! No burned bum bum!
She clearly is enjoying herself....In a high chair.
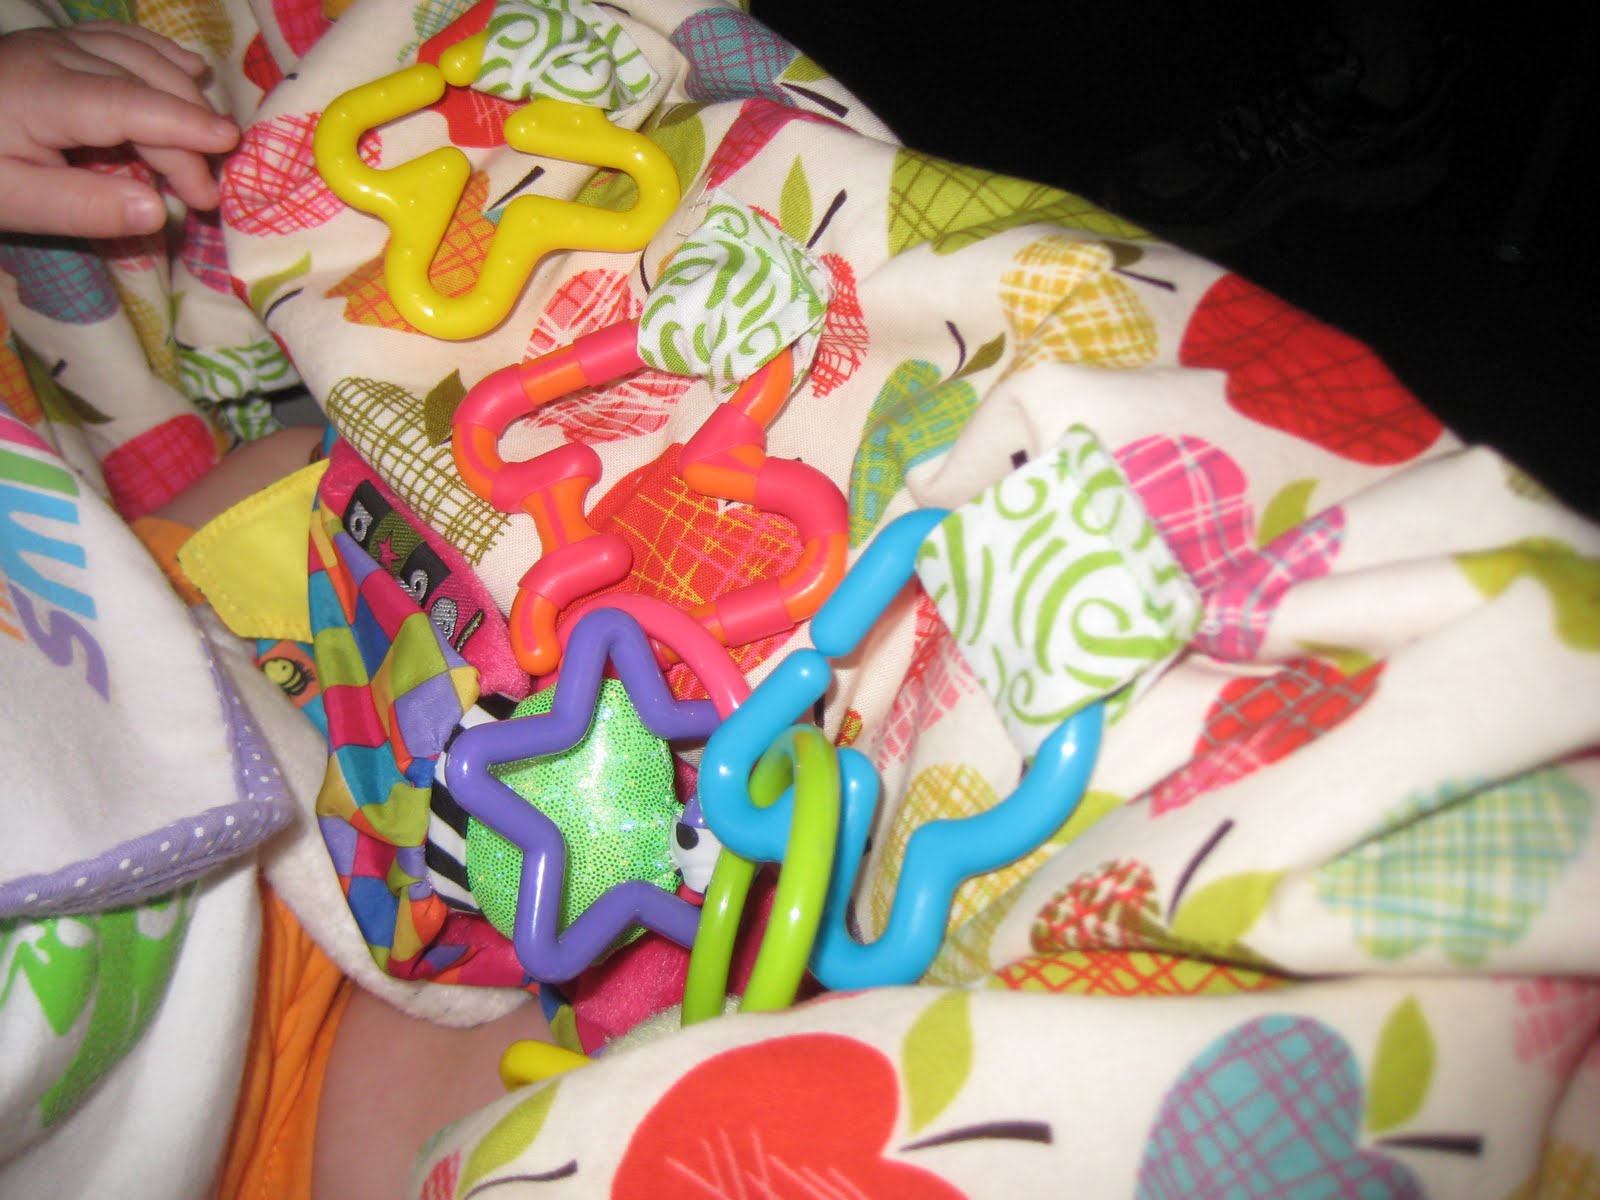
Toy hooks so your not picking up toys off floor. Her hooks have her initials. (Not standard)
@Toms Burger, Home of the educated Burger LOVING her COVER
Wraps around. 1.5 yards of fabric on each side with batting in between for added comfort.
Yes it fits ALL carts.
Lined leg holes. Everything has been serged for strength. And elastic for gripping.  
I garuantee quality of all my handmade products. If any issues should appear mail it back to me and I will fix it!

xOxO -Kenzie

Thursday, May 5, 2011

ONE DAY AT THE BEACH AND A GLUE GUN BURN LATER...

So offically here is my 1st post as a crafty mommy blogger!

My Aunt from Kansas came to visit. She has never put her feet in the ocean before so we went to Pismo Beach, CA. Pismo is a great place for finding Sand Dollars. (Yes the green bag is FULL of them!)
My Idea to remember the trip... A sand dollar wreath for my front door.
Supplies were:
12" Floral & Craft Ring ($3.99 Michaels)
Glue Gun
Ribbon (Left over)
The obvious, Sand Dollars (Free)
and I added an "R" for our last name ($2 at Michaels)

To prepare your sand dollars rinse them off, place them in a bleach and water let them sit for about 2 hours. And lay them in the sun to dry. This gets them nice and white.
Ribbon was re-used from Kinleys Easter Basket.
First step was to string my ribbon through the hole before I got carried away with my sand dollars.
The "r" had a curved edged to is so I glue it along the inner side of circle. While that sat I went ahead and placed my sand dollars to make sure I had enough, and how I wanted them to lay around.
Once I like where everything would be I started to glue. The tricky part is the way the bottom is flat and the top is curved everything going around was on a slight curve.
Some are layered on top. Each is so different just play with it until you like what you see.
Oh and they make a bit of a mess.
The finished product! Just need to get a hook!
Thanks!