So there always has to be a BEFORE picture! So here is K&K

In their previous life they were curtains. FREE, just taking up space in cabinet.

"Boobie" helped too!

The FUN started with just a little paint....

And some laughs!


She enjoyed the sound of me hitting the plastic bag underneath.

Daddy caught her Pink footed!

But Kinley gave him the look and got away with it..

Her masterpiece...Some of her nuckle prints with a couple feet and a hand or two.


We started out by cutting out 6 squares that were 19x18 inches

We then cute 5x5 inch squares out of what will be the bottom of the bags.

Then we serged what would be the right and left side of the bags.


I then took corner A&B and pinched them together, this will make a perfect straight stitch. (A is where my thumb is, B is the corner where my knee is) You know if you have the wrong corners if its not straight.


Bags still inside out I sewed a stright line. Because the curtains already had a finished edge I used that for the top, less work.
I then made a stencil on my Silhouette SD machine. And placed that over the fabric and used fabric paint to make a design on 4 of the bags. After your design is dry be sure to lay a piece of fabric over and iron to set in paint.


After I cut strips that were 20x5inches and were honestly too thick. So the bags I made gradually have smaller handles.


Pin where you want your handles to be.
Place them on right side out side of bag and stitch in a square.


And Repeat!
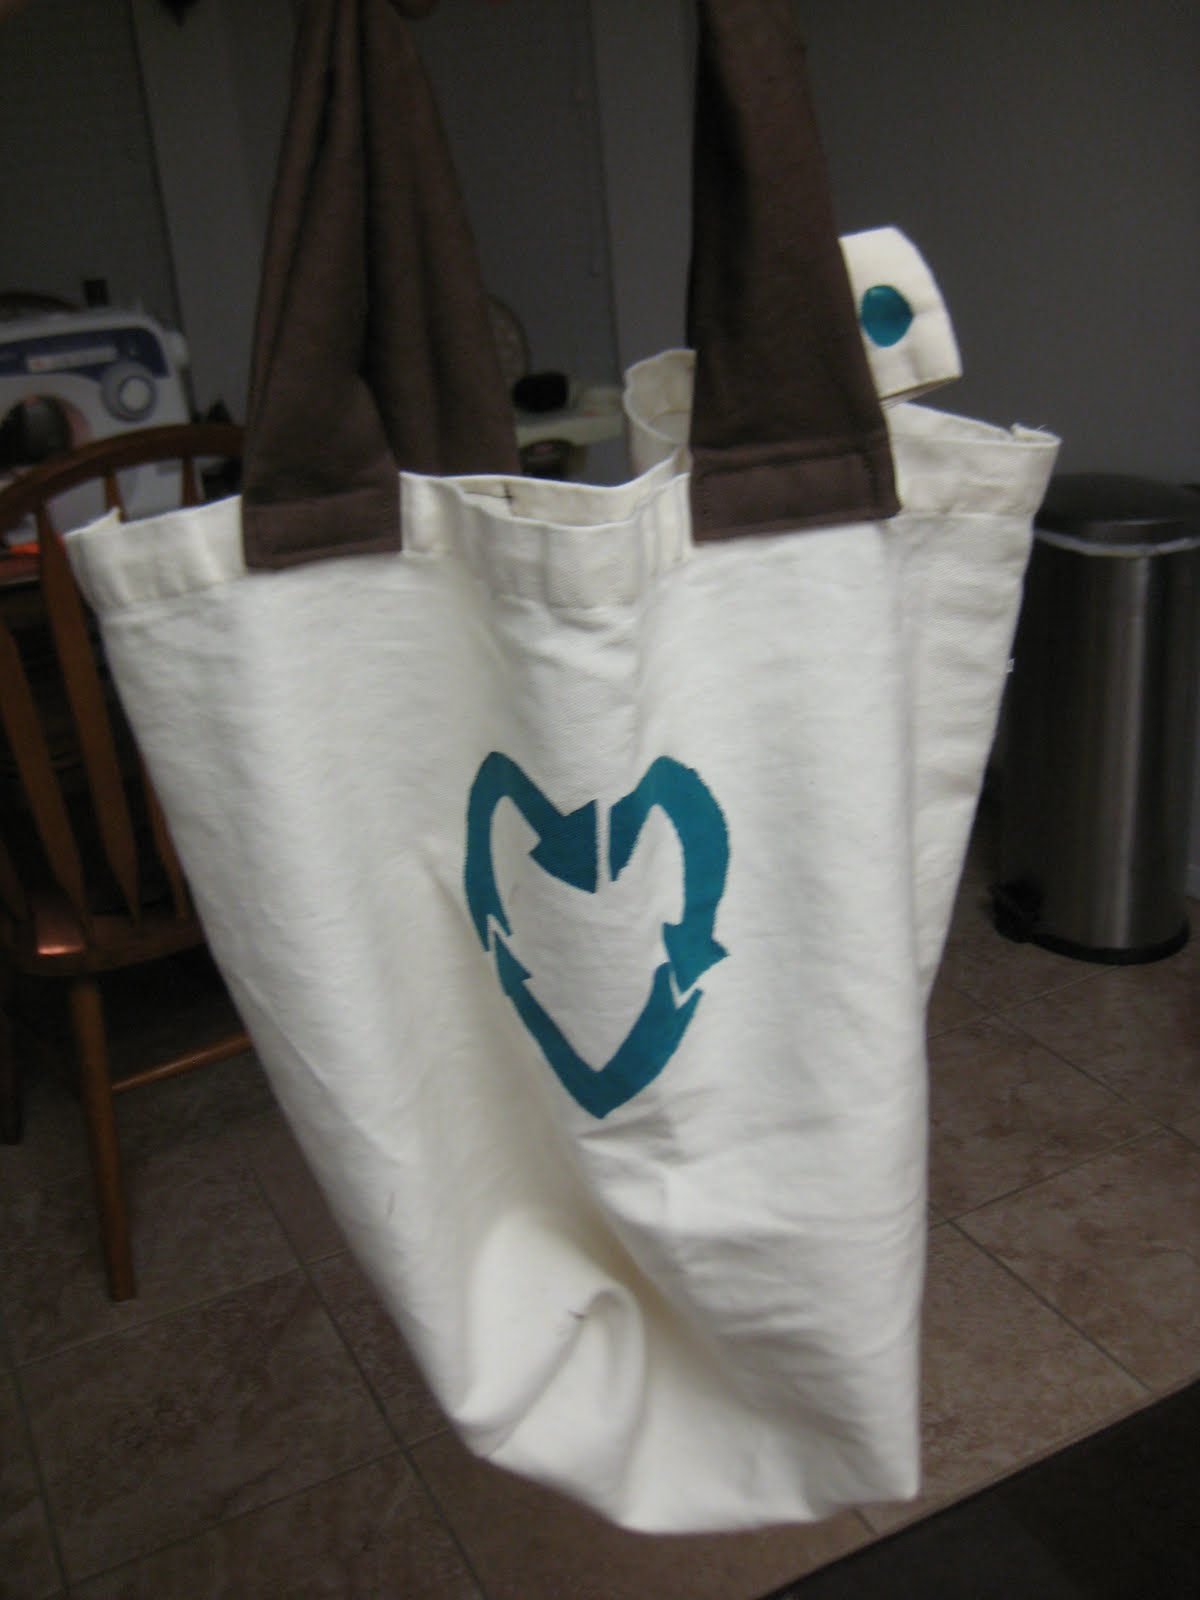

Kinleys Masterpiece! Definitely my favorite. I tested the size after wards and fits 5 big boxes of cereal in it. GREAT size!

Oh I had ALOT of help. Bryan used his head to show the bottom. Thanks hubs!

very nice! Kinley looks absolutely precious, as usual!
ReplyDeleteYou're so crafty! Love it!
ReplyDelete